I just wanted to say a quick thank you to all my readers. Since I started the blog in September, I have had 1017 views! That blows me away!
This will be my last post of 2011, looking forward to what 2012 brings! Happy New Year to you and yours!

Wednesday
Monday
Up Coming Bay Area Wedding Events
In a few months time, wedding season will be gearing up. Here are a few shows and websites that can help you plan your perfect dream wedding!
***Wedding Faire and Symposium
"The Wedding Faire has been coming to the Santa Clara Convention Center since 1986. Brides can shop, watch fabulous fashion shows, attend informational workshops and plan their weddings! The Wedding Faire offers everything to Plan the Perfect Wedding! Local and national retailers and services will have booth displays. There are fashion shows and Wedding Workshops throughout the day. The first 250 Brides each day will receive a Savings Booklet from local Bay Area Wedding merchants. Arrive early to register and win fantastic Wedding Prize Giveaways!"
Friday Thru Sunday January 6-8, 2012
Filled with spectacular decor, innovative floral, sensational tastings, and inspiration galore, The Ritz-Carlton, San Francisco invites you to meet with the bay area’s most celebrated and sought-after wedding professionals. Vera Wang runway shows highlight the season’s most fabulous wedding gowns. Enjoy the complimentary Beauty Bar, champagne and tastings plus the first 100 brides will receive a Swag Bag.
Sunday January 8, 2012
Located at the Ritz-Carlton in SF
***The Lab
***The Lab
“A not-so-ordinary bridal experience to immerse yourself in creative inspiration to define your wedding style. Are you ready for some chemistry? The Lab is a handpicked collection of some of the top trend-setting wedding industry professionals Northern California has to offer. It’s designed to be an experience for couples seeking vendors, inspiration, and style definition for their wedding day. The Lab won’t have typical vendor booths or pushy salespeople. Instead, in a laid-back setting, couples will experience inspiration boards brought to life, sips and bites from some of the best caterers, sweet and treats from top dessert designers, a vendor library, a non-traditional runway show, and one heck of a party to round out the night.”
Saturday January 14, 2012
Admission: $25 (group rates available)
Located at Cline Cellars
***Napa Valley Bridal Show
The 8th Annual NAPA VALLEY BRIDAL SHOW. Plan your entire Wine Country Wedding in one location where the finest wedding professionals will be found. Check out the latest fashions and register for incredible prizes.”
Sunday January 22, 2012 11am-4pm
Admission: $10
Located at Embassy Suites, Napa Valley
Sip chilled flutes of Domaine Chandon while sampling the newest trends in hors d’oeuvres and wedding cakes. Luxuriously stroll by 70 exhibits featuring the elite of Bay Area wedding professionals. View stunning couture fashions modeled throughout the afternoon.
Attention Grooms… Drop by the gentlemen’s lounge for scores, snacks and cold beer!
Sunday January 22, 2012 11am-4pm
Located at the Four Seasons Hotel
View the most incredible photography, breathtaking floral designs, and fabulous samples as you stroll through our aisles to find the right wedding professionals to make your wedding day vision a reality. Experience spectacular runway shows, view unique caterers, sensational jewelry, incredible photography and all you’ll need to make your wedding day the celebration of a lifetime
Sunday January 15, 2012 at the Pleasanton Hilton
Sunday January 22, 2010 at the Claremont Resort & Spa, Berkeley
An insiders view to the venues serving California.
Thursday
Holiday Centerpiece: DIY!
At long last, the post I promised with step by step instructions on how to make your own Holiday centerpiece is here!
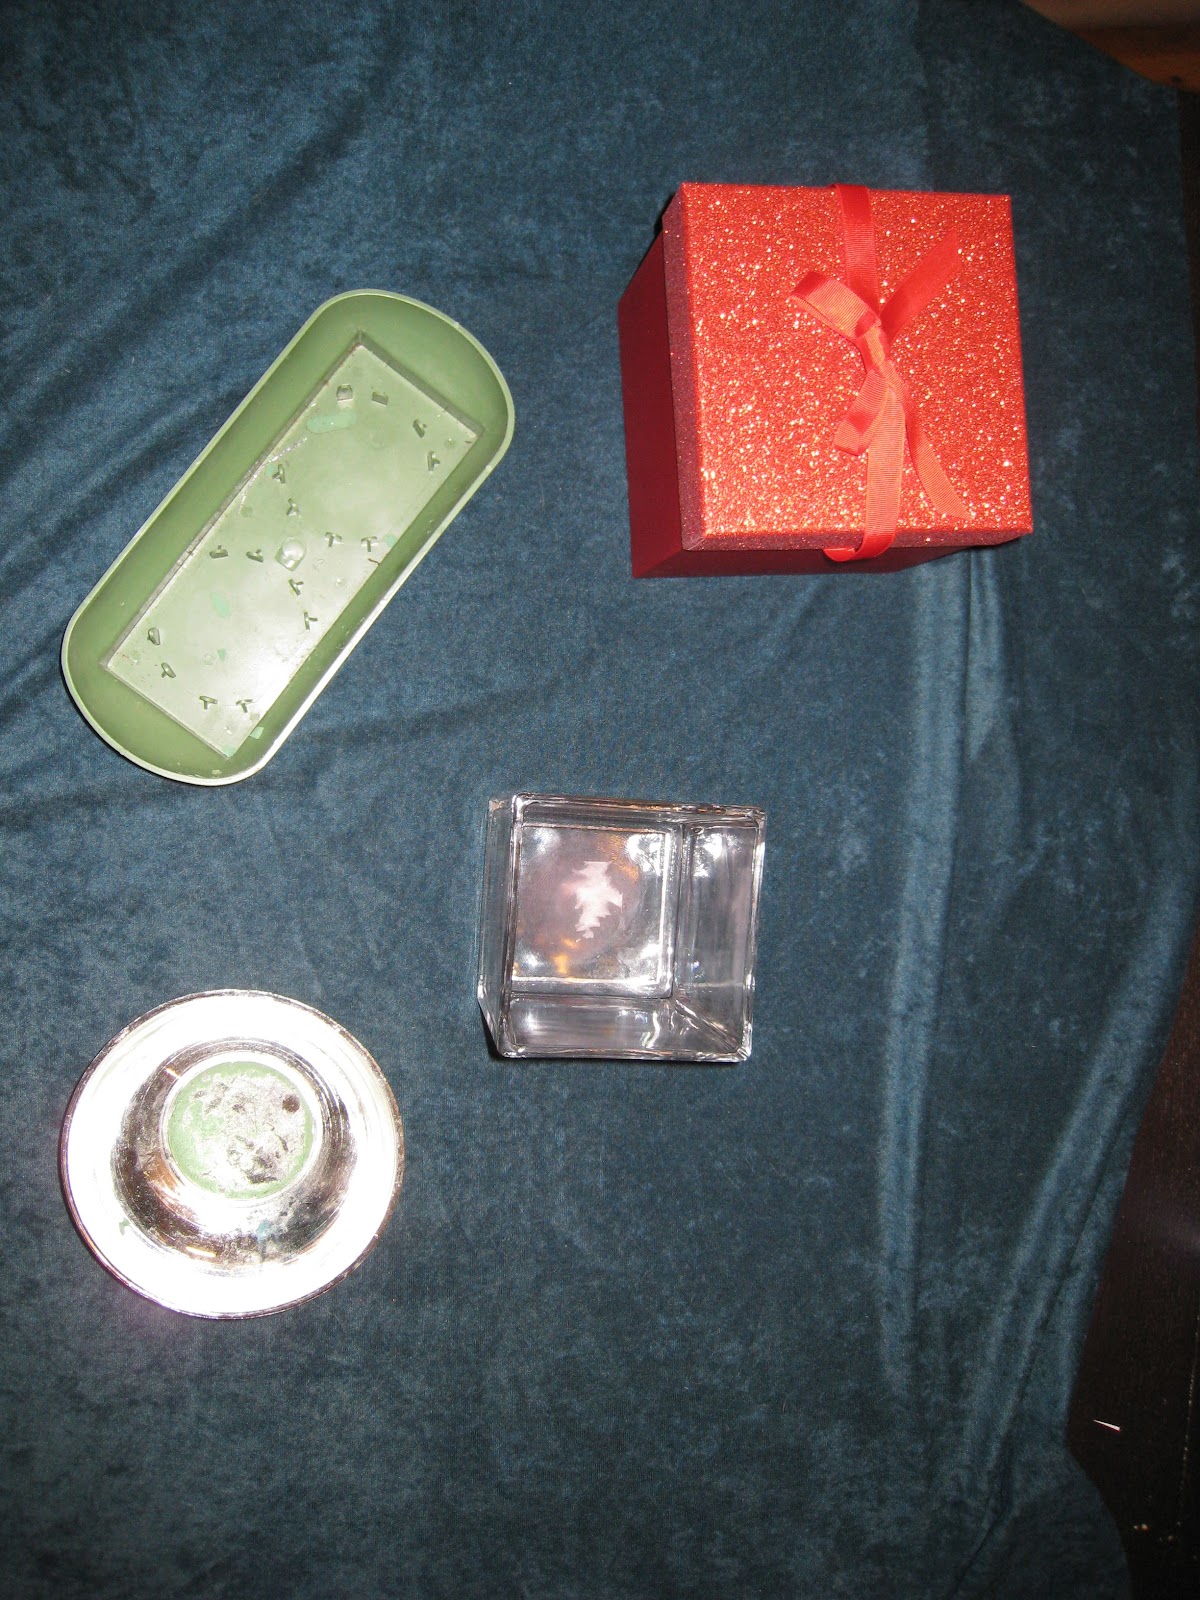
Step 1: The essentials
You will need a few things to get you started on your holiday centerpiece: A brick of foam, a container of your choice, scissors, wire cutters (If you decided to add decorative wire to your design) and garden shears. For my sample, I chose the rectangular green container. You can find all of these things at your local Michael's store. I also used taper candle holders I bought at the SF Flower Mart, but I have not been able to find those at Michaels. I will tell you what to do with your candles below.


Step 2: The materials
Gather together all the branches, flowers, wire, candles, etc you want to add to your design. A little trick I learned last year, you can take all the evergreen branches you desire from a Christmas tree lot for free! Or use trimmings from your own Christmas tree. Not pictured is the holly branches I used. Forgot I had them when I took this picture! What is in the picture are red roses, silver spray painted eucalyptus, Douglas Fir branches, what I think is a white gentian flowers, and another evergreen branch with tiny pine cones.


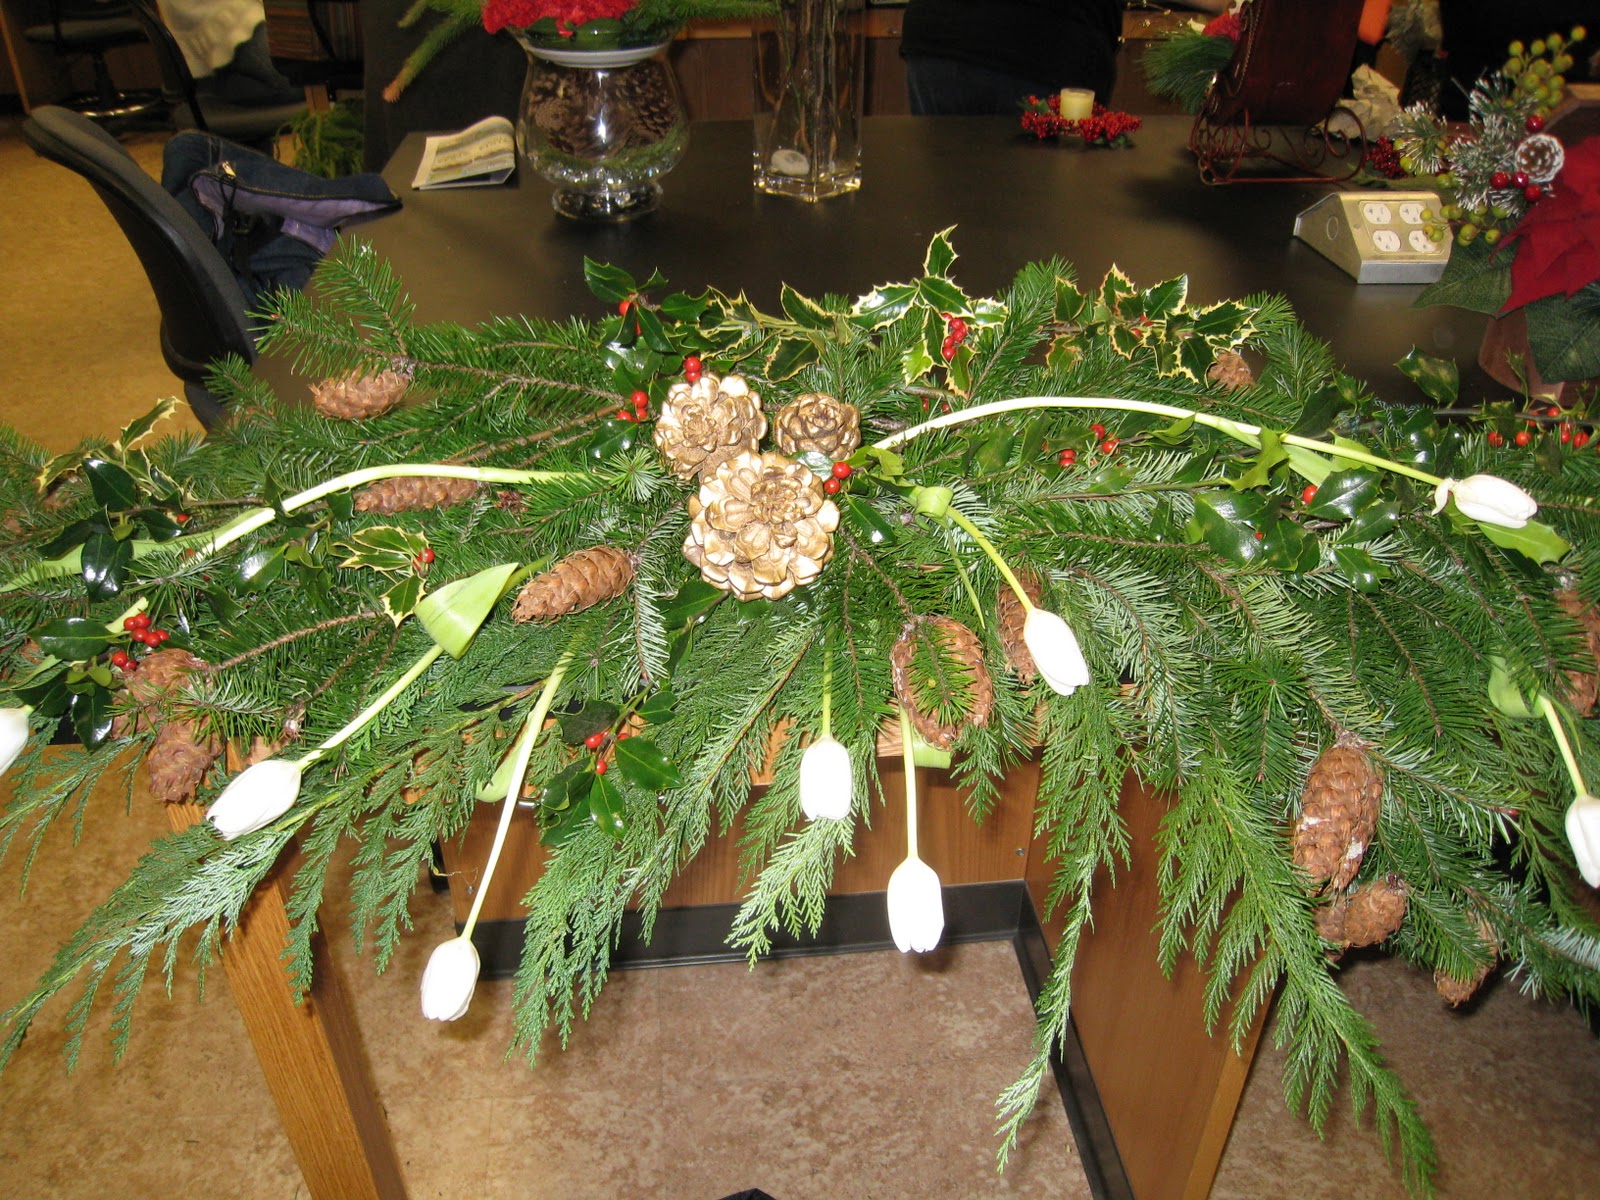
Step 4: First insertions
The first insertions should be on the short sides of the foam. These branches should also be your guide for how long you want the centerpiece to be. I used the evergreen with pine cones first, but then looked closer at the line of the gentian and added length to my design, which you will see in later pictures.


Try not to put stems in and then take them out again, as this could also allow air in the foam, and as we know...thats bad! But if you need to re-insert, its ok, I do it all the time!


Step 1: The essentials
You will need a few things to get you started on your holiday centerpiece: A brick of foam, a container of your choice, scissors, wire cutters (If you decided to add decorative wire to your design) and garden shears. For my sample, I chose the rectangular green container. You can find all of these things at your local Michael's store. I also used taper candle holders I bought at the SF Flower Mart, but I have not been able to find those at Michaels. I will tell you what to do with your candles below.


Step 2: The materials
Gather together all the branches, flowers, wire, candles, etc you want to add to your design. A little trick I learned last year, you can take all the evergreen branches you desire from a Christmas tree lot for free! Or use trimmings from your own Christmas tree. Not pictured is the holly branches I used. Forgot I had them when I took this picture! What is in the picture are red roses, silver spray painted eucalyptus, Douglas Fir branches, what I think is a white gentian flowers, and another evergreen branch with tiny pine cones.

Step 3: Preparing the foam
Pre-soak your foam while getting the rest of your materials ready. Make sure to just drop it in the bucket of water and do not push as that will create air bubbles that will affect the intake of water that the flowers need. After you have placed the foam in your container and secured it (you can use floral tape or a frog to hold the foam in), trim the foam down so only an inch is seen above the container line. Remember, you need enough foam for the flowers to fit securely in the container, but the more foam you have, the more you have to cover! After the foam is cut and secure in the container, you can insert the candle holders, if you have them. If not, shave the bottom of the candles into a point and insert them. If you leave them the way they are, that can also allow excess air into the foam which stops the flowers from drawing water.


Step 4: First insertions
The first insertions should be on the short sides of the foam. These branches should also be your guide for how long you want the centerpiece to be. I used the evergreen with pine cones first, but then looked closer at the line of the gentian and added length to my design, which you will see in later pictures.

The next insertions should be on the long sides of the foam. These should be a little shorter than the first two branches, but they will also be a guide on how wide you want the arrangement.

Also, when you are inserting your greens, make sure to clean off the needles/leaves that will go into the foam. You want a clean stem in the foam to keep air out of it!

Step 5: Fill 'er up
After those initial insertions, start filling in the sides of the design, like this:


Try not to put stems in and then take them out again, as this could also allow air in the foam, and as we know...thats bad! But if you need to re-insert, its ok, I do it all the time!
Step 6: Focal point
To add a bit of color and a place to draw the eye into the design, I started work on the focal point of. I was going to just have three roses in the front, but decided that I wanted to put a ring around the candles. It ended up like this:

Step 7: Finish it up!
Once you have all the foam covered (I used the silver painted eucalyptus and the holly) and the candles inserted where you want them, you have completed your design!

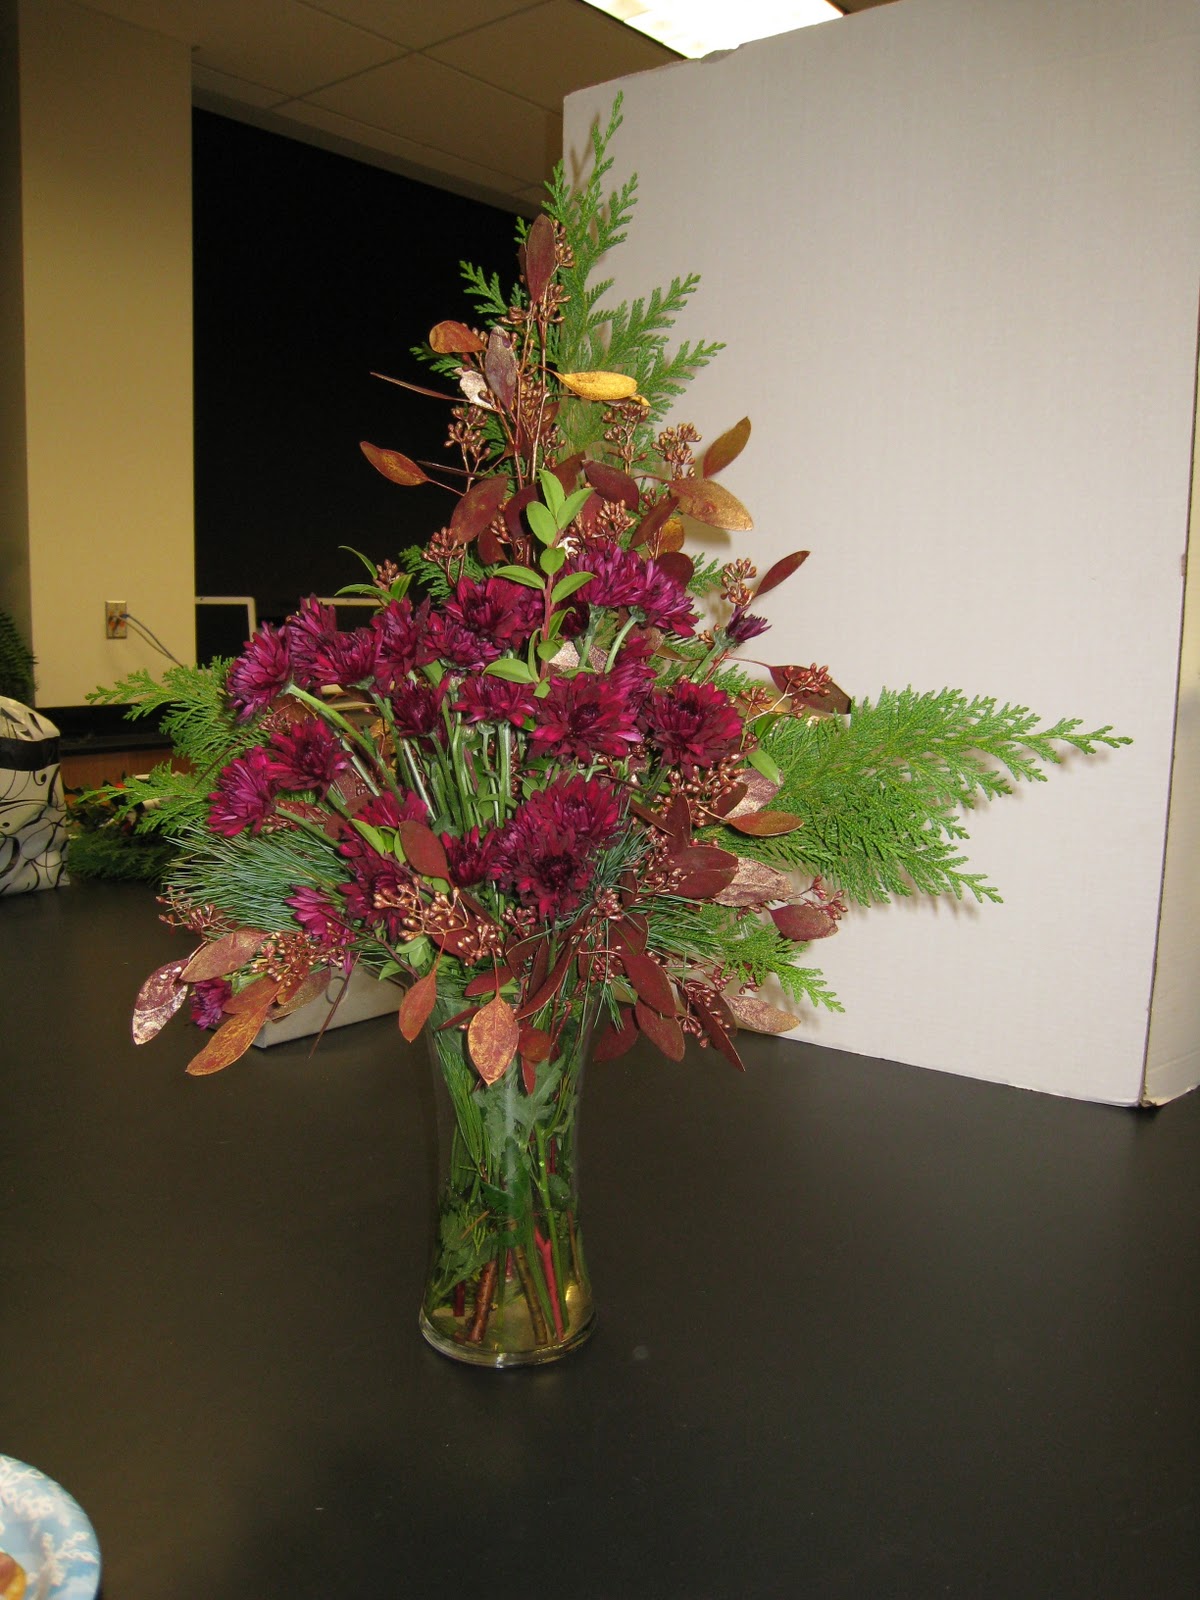
This design is obviously very traditional Christmas, but if you don't celebrate Christmas or want something a little less traditional, substitute Iris' instead of roses, or get blue candles and white roses. Or go really colorful with oranges and yellows and reds! Here's another design I did for a client. 

I bought the box at Target for $5 and used a paper mache container to hold the foam. The lid is secured to the box using glue dots.
If you decide to give it a try, send me pictures at thesassydiva@sassydivadesigns.com and I will post your creations on this blog!
Here is wishing you and yours a wonderful Holiday season and a very Happy New Year!
Monday
San Mateo County Hidden Gem
The Pulgas Water Temple in San Mateo County, is a small, unique, gorgeous wedding venue that I came across a few months ago located at 80 Canada Road in Woodside, California.
It was built in the 1930s by architect William G. Merchant to commemorate the 1934 completion of the Hetch Hetchy Aqueduct. Here are some specifics on having your wedding ceremony at this location:
Guest Count: 100 guests max, with limited parking
Available times: April to October 9:30-11:30 or 1:30-3:30. 2 hours maximum which includes set up and tear down.
Price: $150 non-refundable
Limitations: The site does not allow rehearsals on the property. The site is closed on Sundays. To have amplification or any other electric needs, you must bring a 150 foot extension cord. They do not have their own chairs so you must rent them.
All in all, its a gorgeous venue for a low budget, quick wedding ceremony and definitely something to look into. For more information, you can call them at 650-872-5900 or visit the site here. Here are a few pictures:


Saturday
The Language of Flowers
A fellow classmate of mine told my class about the premier novel by Vanessa Diffenbaugh called, The Language of Flowers". I chose it as my book club pick for our January meeting, and just finished it today.
Set in San Francisco, The Language of Flowers is a beautifully woven story of a girl, Victoria, who has been in the foster care system from birth. At the age of nine she is sent to yet another home, but this time she is introduced to the world of flowers and the meaning behind each bloom.
The parts I loved the most about the book were the references to the San Francisco Flower Mart and the idea of using flowers not for their looks but for their meanings. In the book, a woman who is unhappy in her marriage is given a bouquet of Jonquil to take home and its meaning, domestic happiness, changes her marriage. A lonely woman looking for love is given red roses (love) and lilac (the first emotions of love) and realizes the man of her dreams is right in front of her.
The novel was inspired by the authors own experience with foster care children and a Victorian floral dictionary. It turns out, the "Language of Flowers" got its start in the Victorian era. When flowers were given to a young lady, usually by an admirer or friend, it was a secret message. A secret tryst, or an exclamation of love or telling someone how you loathe them was sent in a simple, beautiful bouquet of flowers.
After doing some research, I've been inspired to post weekly on flowers and their hidden meanings, starting in January. I will also include the time of year they are readily available, in case you ever want to use them for your special event.
Until then, I highly suggest you go out and get a copy of this book. You will be in for a special treat!
Tuesday
More talent at College of San Mateo
Last night was the final for the more advanced class. Our task was to find some sort of inspirational piece like a poem, a piece of art, a song or an object and translate that into a floral design.
My piece was inspired by this design by Paula Pryke:


My piece was inspired by this design by Paula Pryke:

The container that I had wasn't tall enough when I tried it out the night before, so I did something a little different. I also used glass balls instead of the glass test tubes in the design, and instead of lisianthus, I used mini cymbidium orchids. I also used white anthuriums as a focal point. I call it "Winter Wonderland"

There are tiny floral lights inside each of the balls covered in a fake snow that I got at a local florist shop. To add a bit of sparkle, I put beaded oasis wire, and set the entire design on a mirrored container and then set that on a round mirror (the mirror broke in transit which is why it doesn't look round).
Here are the rest of the designs from the night. I will try to remember what the inspiration was, but there were a lot.
The song Merry Christmas, Darling was the inspiration for the design below.

The next few pieces were holiday inspired pieces


The design below was based on the branch that the designer found at a farmers market. The branch cost her $3!!

This pave design was based on the techniques of Gregor Lersch


The designer of this piece was inspired by a poem about music


The story behind this one is the loss of the designers brother-in-law. A very beautiful waterfall with tropical flowers since he loved Hawaii.

The design below was created by my friend Brenda. She loves working with thick sticks and she wanted a centerpiece for her table. She is a fantastic designer and I've learned a lot from her.

This design was based on a designers piece at the 2011 Symposium.


The designer of this is from Ireland and having a candle in the window is a Christmas tradition that dates back to Henry VIII.

This fun design is inspired by the creators horse. He loves apples so she incorporated apples into the design and that is one of his old shoes.

This designers friend asked her to create a holiday piece for her cabin in Tahoe.


This design is called "Over the Water and Through the Woods" from the top view, you can tell, but there is red dogwood that is in an arch shape and it had clear stones under it for the river. Very cute.

Another design that was inspired by 2011 Symposium. The frame is made out of corner bead which is used by construction companies when they are doing stucco work. This is another friend of mine who has helped me multiple times on events. She is awesome!

The advanced class has some amazing talent as well as amazing teachers. Its a shame that the College decided to cancel this amazing program so they could build a parking lot.
Hope you enjoyed these designs!
Talented Students at College of San Mateo
The end of the 2011 Fall Semester is here, and I wanted to share a few of the designs my fellow students in Monday nights "beginning" class created for our final exam. Half the students in this class have not ever taken a floral design class before. The others, like me, have had several classes over the past few years. See if you can tell the beginners from the more advanced designs:


And this was my final design using red roses, green hydrangea, holly branches and wired rose petals draped across the design.

Subscribe to:
Posts (Atom)