
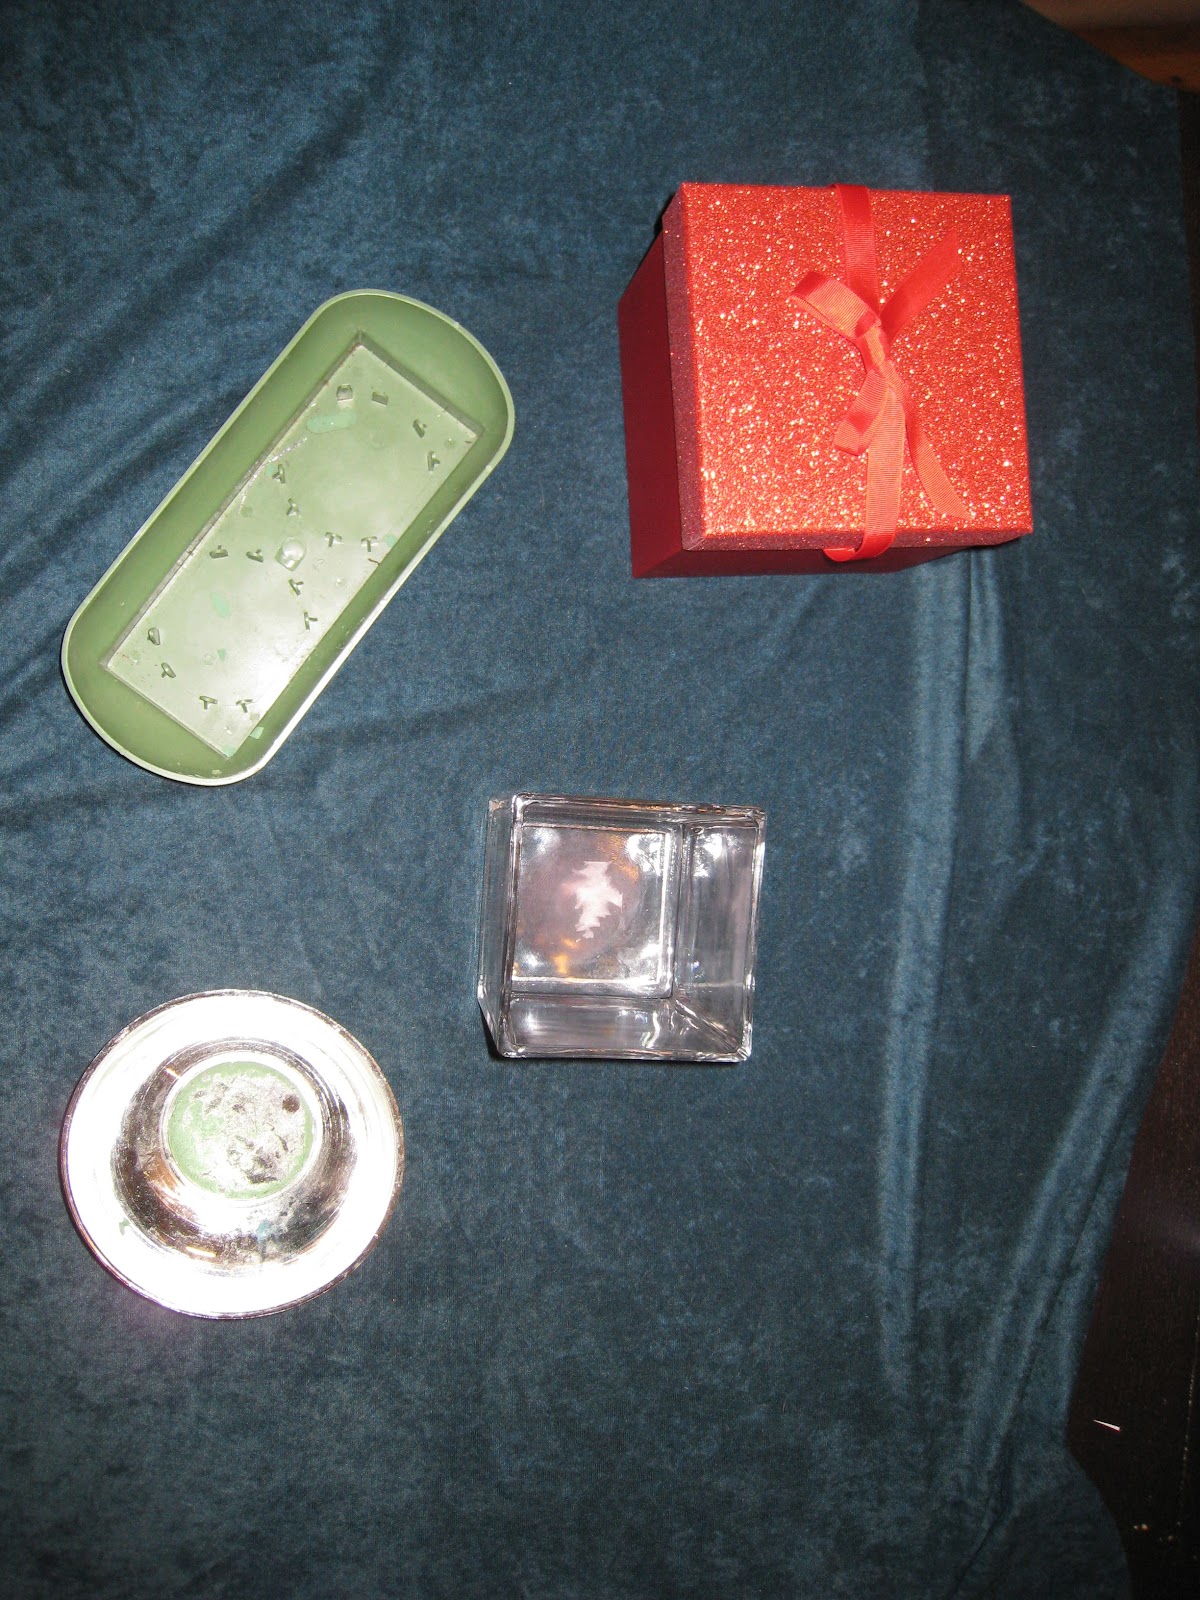
Step 1: The essentials
You will need a few things to get you started on your holiday centerpiece: A brick of foam, a container of your choice, scissors, wire cutters (If you decided to add decorative wire to your design) and garden shears. For my sample, I chose the rectangular green container. You can find all of these things at your local Michael's store. I also used taper candle holders I bought at the SF Flower Mart, but I have not been able to find those at Michaels. I will tell you what to do with your candles below.


Step 2: The materials
Gather together all the branches, flowers, wire, candles, etc you want to add to your design. A little trick I learned last year, you can take all the evergreen branches you desire from a Christmas tree lot for free! Or use trimmings from your own Christmas tree. Not pictured is the holly branches I used. Forgot I had them when I took this picture! What is in the picture are red roses, silver spray painted eucalyptus, Douglas Fir branches, what I think is a white gentian flowers, and another evergreen branch with tiny pine cones.

Step 3: Preparing the foam
Pre-soak your foam while getting the rest of your materials ready. Make sure to just drop it in the bucket of water and do not push as that will create air bubbles that will affect the intake of water that the flowers need. After you have placed the foam in your container and secured it (you can use floral tape or a frog to hold the foam in), trim the foam down so only an inch is seen above the container line. Remember, you need enough foam for the flowers to fit securely in the container, but the more foam you have, the more you have to cover! After the foam is cut and secure in the container, you can insert the candle holders, if you have them. If not, shave the bottom of the candles into a point and insert them. If you leave them the way they are, that can also allow excess air into the foam which stops the flowers from drawing water.


Step 4: First insertions
The first insertions should be on the short sides of the foam. These branches should also be your guide for how long you want the centerpiece to be. I used the evergreen with pine cones first, but then looked closer at the line of the gentian and added length to my design, which you will see in later pictures.

The next insertions should be on the long sides of the foam. These should be a little shorter than the first two branches, but they will also be a guide on how wide you want the arrangement.

Also, when you are inserting your greens, make sure to clean off the needles/leaves that will go into the foam. You want a clean stem in the foam to keep air out of it!

Step 5: Fill 'er up
After those initial insertions, start filling in the sides of the design, like this:


Try not to put stems in and then take them out again, as this could also allow air in the foam, and as we know...thats bad! But if you need to re-insert, its ok, I do it all the time!
Step 6: Focal point
To add a bit of color and a place to draw the eye into the design, I started work on the focal point of. I was going to just have three roses in the front, but decided that I wanted to put a ring around the candles. It ended up like this:

Step 7: Finish it up!
Once you have all the foam covered (I used the silver painted eucalyptus and the holly) and the candles inserted where you want them, you have completed your design!

This design is obviously very traditional Christmas, but if you don't celebrate Christmas or want something a little less traditional, substitute Iris' instead of roses, or get blue candles and white roses. Or go really colorful with oranges and yellows and reds! Here's another design I did for a client. 

I bought the box at Target for $5 and used a paper mache container to hold the foam. The lid is secured to the box using glue dots.
If you decide to give it a try, send me pictures at thesassydiva@sassydivadesigns.com and I will post your creations on this blog!
Here is wishing you and yours a wonderful Holiday season and a very Happy New Year!
Very nice job Beth!
ReplyDelete